I was sick at the time of carneval, that’s why I was very glad, to have finished Timo’s costume as Teenage Mutant Ninja Turtle, weeks before.
Due to the fact, that it was such a great success, I’ll write a step by step guide for a turtle shell here. The idea itself, I have copied from the guys of „Cardboard Prop Company„. The make really crazy things out of cardboard. A glance at the page is worthwhile in any case.
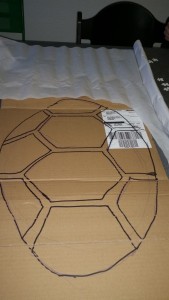
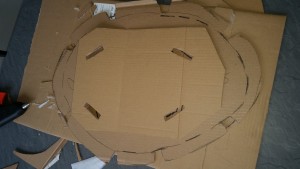
Well, we should now come to the instructions. First of all, you should measure of your child’s back, so you have a rough idea how big the shell will be. Then you paint an „egg“ on board with the distance that you have just measured at the two farthest points (top and bottom). The egg you then divided into the sections as shown in the picture:
The distances between the individual sections in the picture are too large. They should have to be closer together, so that they fit. This will be the shape of the shell. The individual parts are cut out, bend on your knee, to bring them in form:
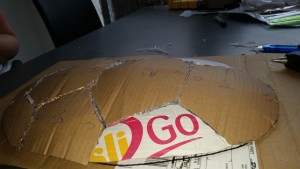
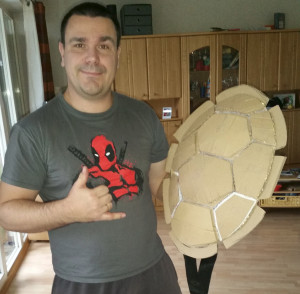
After that, the individual parts are glued together (with hot glue). As you can see, there’s the main shape of the shell:
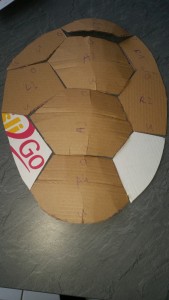
After everything has dried, the same „sections“ as shown in the first image above with some distance between them, have to be cut out of cardboard and glued to together:
As you can see, it is extremely important to label the parts. Don’t make it too complicated, there are „only“ 3 rows (right, center, left) and only in the middle there are 4 parts. 🙂
In the picture is also shown, the base plate to which the shell is glued.
To carry the shell a kind of „belt“ has to be attached. We used some strings which were used to hold our mattresses together, when we bought them. Because the force will be really high at this point, I glued another cardboard in the middle of the shell:
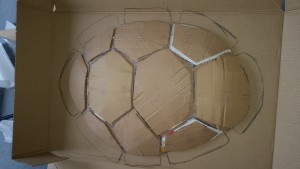
Here you can see already how the base plate looks cut out. When everything is dry, you have the hardest part of the shell already finished:
Unfortunately I have not documented in a photo how to make the papier mache onto the shell. It is, in principle, old newspapers and paste in order to obtain a „primer“ for the color. Furthermore, you can form the shell with the very soft newspaper. If that’s all dry, you can start with the painting.
How to do this in principle can be seen in this video:
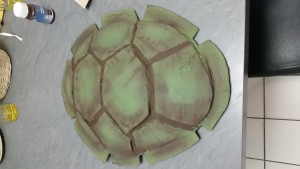
I have taken normal spot colors from a hardware store. The guys in the video probably takes acrylics. In addition, its primer is slightly lighter than what I managed. Nevertheless, the part already painted was quite good, at least Timo said „Wow!“ as he discovered the painted shell in the morning:
The finish we made together. Simply take finish from the hardware store as a spray and then generously spray it onto the shell 🙂 . A little tip: best not to wait, like us, until it has wind force 8 outside, so you have a fair chance to get any finsh on the shell😉
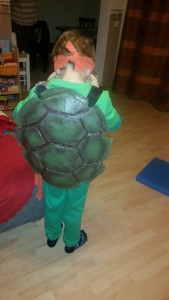
The final result looked like this:
I made the matching nunchucks by myself, too. I just did with Duck Tape, gift paper rolls and PlayCorn as filling.
What costumes wear your children this year? Are they usually as „complicated“ as the shell? Or do you buy them every year?
